LAB NOTES: Cold Brew Coffee Concentrate

Hello and welcome back to the Domestic Culinary Lab. I’m Wayne aka The Mad Food Scientist.
Today, I’ll be writing about coldbrew coffee and how it came about that I’m making it. First let me clarify, I’m making coldbrew concentrate and that it will need to be diluted to be drinkable. How’d I get here? Well… About a month, or so ago my Keurig quit working. Luckily, I have a German made French Press and was able to utilise that to make coffee. I can brew hot coffee in it if I wish. However, I’d dabbled with cold-brew in the past and decided to give that a whirl. So I did some research on YouTube and on the Kaldi’s Coffee YouTube Channel and found a ratio that I could live with. Eight grams of water to one gram of grounds. ( LINK HERE: https://youtu.be/V0OUAIE6TFA ) Then while talking with a friend of mine named Keir, he mentioned he sets up his cold brew in one quart mason jars. French press, and cold brew too, needs coarser grounds than what you get from canned pre-ground coffee. So, I searched Amazon for affordable coffee beans and got some dark roasted Arabica beans at a better price than what my local grocery store was charging. When they arrived, I discovered that the electric coffee grinder I had was dead as a doornail. Which bears out something I learned a long time ago from my Dad that was reinforced at my first Field Day after I got my Amateur Radio license in 1992. ALWAYS test gear before you need it. So, away I went to Amazon and looked up coffee grinders. I decided to go with an affordable manual grinder. I haven’t bought pre-ground coffee since.
LAB NOTES: 04 May, 2023
What You’ll need:
Water
Coffee grounds
1 pinch Kosher/Sea Salt
1 wooden spoon
1 container with lid, you pick what you want to use.
This is the method that I’ve kitbashed that works for me, if you find another way to do it that meets your needs. GO FOR IT!! You do you!
I know from previous experience that I can put in 90g of grounds ( coarse ) and between 700g – 720g of water without overfilling the jar. The formula is: W ( Water in grams ) / 8 = B ( Beans in Grams ) So, 720 / 8 = 90
I usually setup two 1 quart Mason jars at a time. So I grab them and two 1 pint Mason jars. You’ll see why in a moment.
I weigh 90g of coffee beans into each of the pint jars.
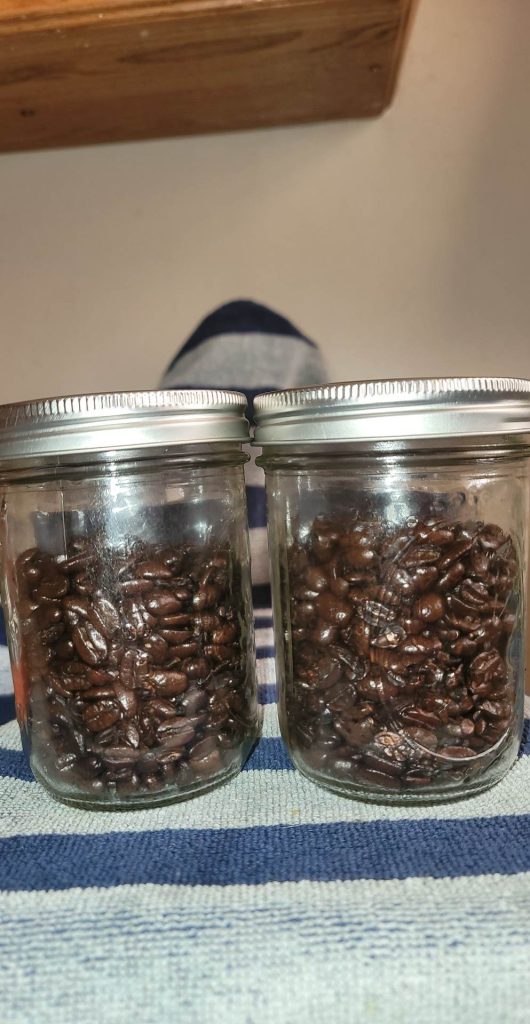
Then I grind the beans to produce 90g of grounds. Next I put the 90g of freshly ground beans into one of the quart jars. It usually takes me three fills of the grinder to get the 90g of beans turned into 90g of grounds. I repeat for the second lot of 90g of beans. Then I pour water in the jar filling it about two thirds of the way. I toss in a pinch of salt. This is something that Keir pointed out to me. We use salt in other things to enhance flavour, why not in coffee? It made sense to me so I started doing that. Next I stir the water and grounds really well then fill the jars the rest of the way up with water. I’ve heard you can leave these sitting on the counter, but I prefer to put mine in the refrigerator. The next step is to wait.

How long, you may ask? That’s up to you. The range I’ve heard is twelve to forty-eight hours. For me, it’s somewhere in between. The yield from two 1 quart Mason jars of cold brew. 720g water + 90g grounds Yields: 1200g cold brew concentrate.
CONCLUSIONS:
I’ve come to prefer this kind of coffee. It’s way less acidic than coffee brewed with hot water. It’s also smoother. In a pinch, I can drink it diluted with water and a little rich simply syrup ( A future post ) added. To get a hot cuppa in the morning, I fill my mug a bit under half full of water just off the boil, fill nearly the rest of the mug with the concentrate, put a little sweetener in, then pour in the plant based milk that I have in my refrigerator and stir. Following an idea that Keir pointed out, I also dilute some of the cold brew concentrate 1:1 with water and fill up ice cube trays.
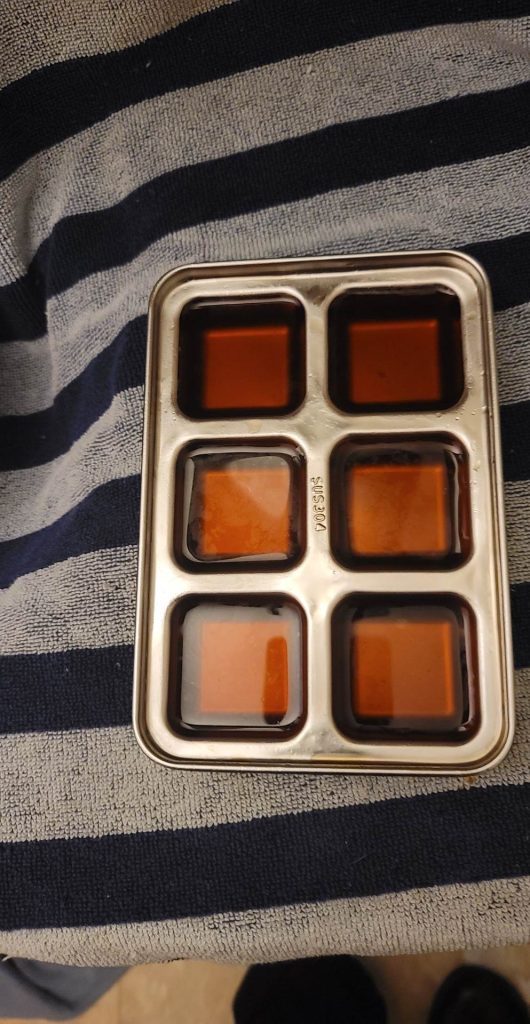
I found stainless steel ice cube trays. I use these because the flavour of the coffee won’t sink into the material as it would with plastic, or silicone.
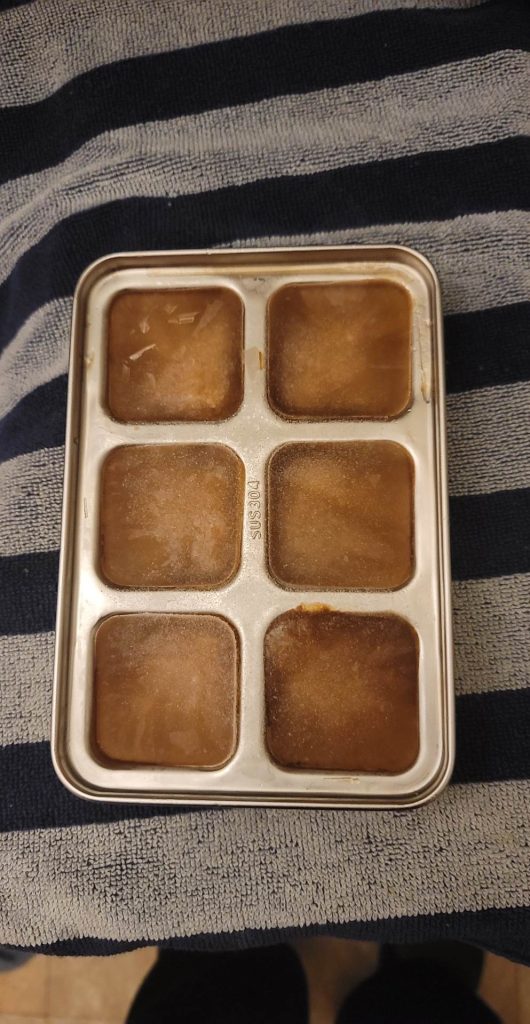
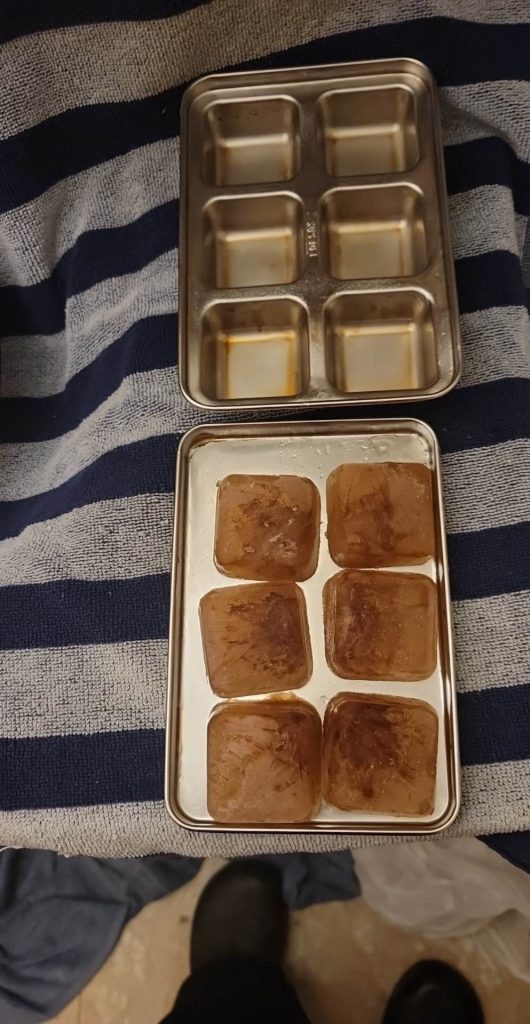
This will allow me to freeze cubes of other things such as broth, or stock ( Future posts ). Six hours later, I have coffee cubes that will chill my drink without diluting it further. These trays make some monster cubes. If I want an iced coffee drink it’s dead simple. I put two coffee cubes in the glass, fill with cold brew concentrate to just a bit under half full, fill the glass nearly full with cold water, put in some rich simple syrup and some plant based milk.
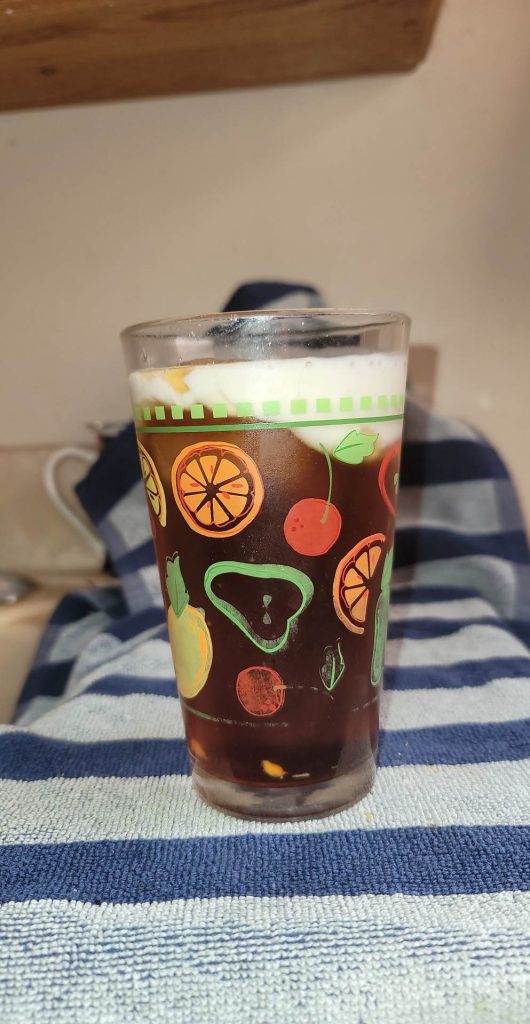
Here is where simple syrup really shines. Since the sugar is in dissolved and in solution within the simply syrup, it takes less to sweeten a cold drink and you aren’t left with grit at the bottom of your glass when you’re done drinking like you would be if you used granulated sugar.
Give this method of making coffee a try, your tastebuds, and your stomach may thank you.
Keep Safe!